
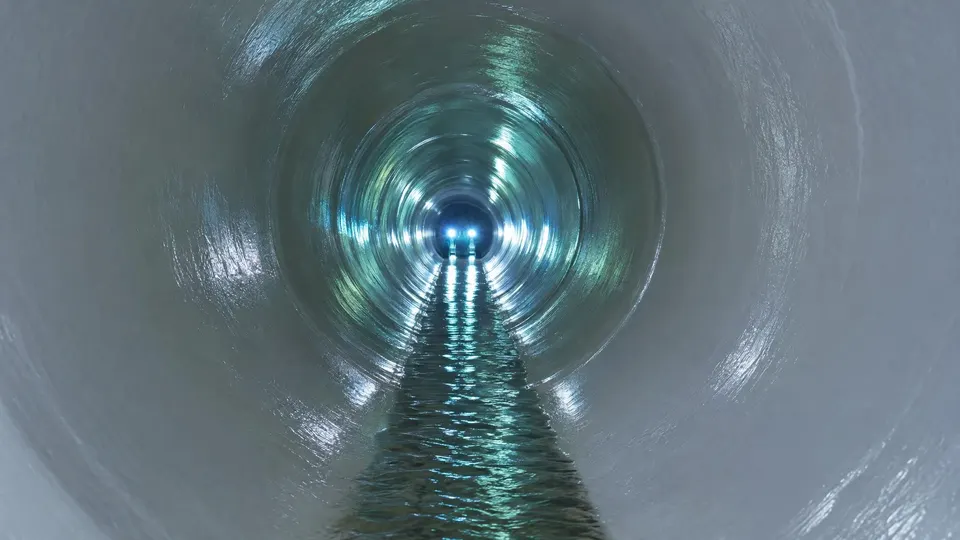
How CIPP works, step by step.
Six steps, usually one working day for a home. Here is exactly what happens inside your pipe, and why each step matters.
Scroll to watch the repair.
- 01
Inspect and clean
A camera crawler maps the pipe and records every crack, root, offset and low spot. Roots and debris are cleared by cutting and hydro-jetting so the liner has a clean host pipe to bond to.
Camera inspection - 02
Prepare the liner
A felt or fiberglass liner is cut to length for your exact pipe and saturated with resin. Diameter, length and conditions decide the resin and the cure method.
Resin and liner - 03
Install the liner
The liner is inverted or pulled through an existing access point, a cleanout or manhole, and pressed against the old pipe wall. No trench, no torn-up yard or driveway in most cases.
Trenchless install - 04
Cure in place
Hot water, steam or UV light cures the resin. The liner hardens into a new, jointless, smooth pipe inside the old one, often within hours.
Hot water, steam or UV - 05
Reopen connections
A robotic cutter reopens every lateral and branch connection from inside the new pipe, so every drain on the line works again.
Lateral reinstatement - 06
Verify on camera
A final camera run confirms the liner is smooth, tight and fully cured, with every connection open. You get the footage.
Post-lining video
What your day looks like
- AM
Inspect and clean
We camera the line, record the damage and clear roots and debris so the liner has a clean pipe to bond to.
- MID
Install the liner
The resin-saturated liner is inverted or pulled into the pipe through the cleanout and pressed against the wall.
- PM
Cure and reopen
Hot water, steam or UV hardens the liner. A robotic cutter reopens every connection.
- EVE
Final camera run
You see the smooth, sealed pipe on video and get written aftercare guidance.
How to get ready
- Make sure we can reach the cleanout, or tell us where the pipe leaves the building.
- Tell us about any slow drains, backups or recent clogs.
- Plan to limit water use for a few hours while the liner cures. We will tell you when.
- Keep pets and children away from the work area and equipment.
Questions, answered
What is CIPP pipe lining?
CIPP stands for cured-in-place pipe. A flexible liner soaked in resin is installed inside your damaged pipe and cured with hot water, steam or UV light until it hardens into a new, seamless pipe within the old one. It repairs cracks, leaking joints and root intrusion without trenching up your yard or street.
Do you have to dig up my yard?
In most cases, no. The liner goes in through an existing cleanout or manhole, so lawns, driveways, patios and floors stay in place. If the camera shows a pipe that has collapsed or a section that cannot be lined, we tell you and explain the options, which may include a small spot dig or pipe bursting.
How long does a CIPP repair take?
A typical home sewer lining is finished in about a day: camera inspection, cleaning, liner installation, cure and a final camera run. Longer runs, commercial lines and complex sites take longer, and we give you a schedule before we start.
How much does CIPP lining cost?
Published U.S. ranges commonly run about $80 to $250 or more per foot for residential lining and about $100 to $300 or more for commercial work, depending on diameter, length, access and conditions. The Cost Estimator on this site gives a planning range; a free camera inspection gives a firm written price. Call 800-224-9245.
How long does a CIPP liner last?
A 50-year design life is widely cited for CIPP. That is an engineering design basis, not a guarantee, and real performance depends on cleaning, installation quality and the condition of the host pipe. Ask for the warranty terms in writing and keep the final camera footage.
Ready to see it in your pipe?
Start with a free camera inspection.